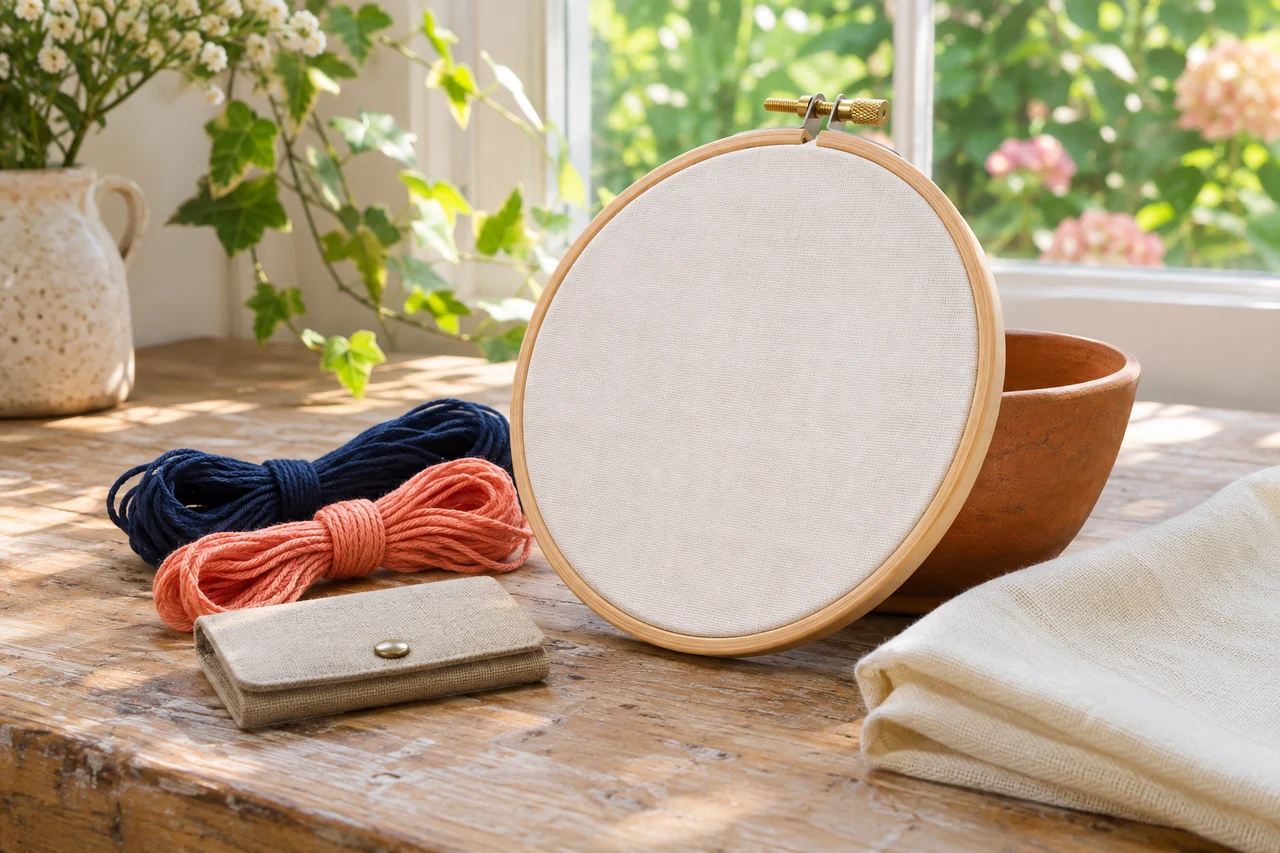
Back stitch has a small directional puzzle: the line grows along your design while each visible stitch returns behind the direction of progress. The Royal School of Needlework's Stitch Bank describes that backward working movement as the basis of the continuous line. A simple paper map can make the order easier to read before you choose a kit or start a project. Our four letters describe positions, not a finished embroidered sample.
Give the first stitch two different positions
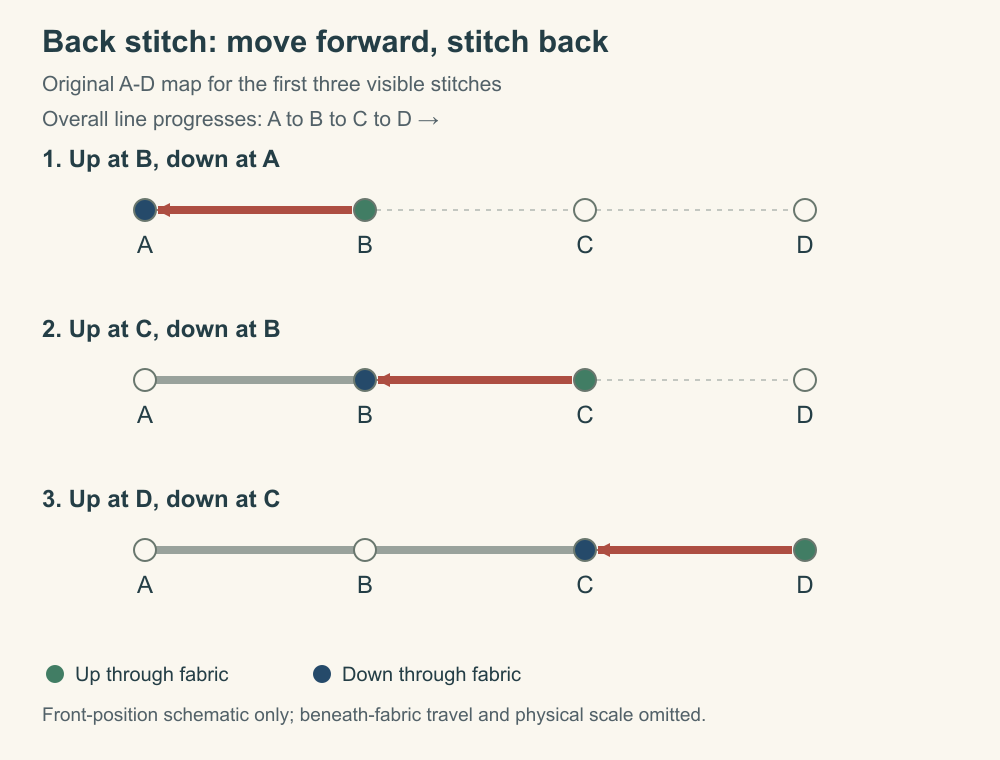
Place four equally spaced marks on a horizontal line and call them A, B, C and D from left to right. In our original schematic, A is where the line begins. Bring the needle up at B and take it down at A. The visible stitch joins B to A, even though the line you intend to build will continue toward C and D.
This follows the RSN's method of emerging one chosen stitch distance from the start and returning down at the start. The drawing does not assign millimetres, fabric-hole counts or a particular thread. Those choices belong to your actual project and its instructions. Here the letters keep the movement legible.
The next emergence moves ahead; the stitch comes back
For the second step in this map, bring the needle up at C and return down at B. The new visible segment lies beside the first. For the third, come up at D and return down at C. Read the pairs as B-to-A, C-to-B and D-to-C. Each return travels left on the page while the completed line extends farther right.
The green and blue points in the original diagram distinguish the current emergence from the return. Grey segments show earlier visible stitches; the red arrow shows the new one. The illustration leaves travel beneath the fabric out of view, rather than trying to make a flat paper diagram stand in for a complete physical lesson.
Use the map to ask a better kit question
Before working with a needle, trace the three pairs with your finger on a paper copy or a sketch of your own. Name the place you emerge and the place you return to separately. If you keep jumping from B straight to C without returning, revisit the pair for that step. The point is to understand the order, not to judge a stitch you have not made.
When comparing a real beginner kit, look for working instructions that explain the named stitch, along with the actual preparation and finishing guidance for its materials. A photograph of a finished motif cannot supply the needle order on its own. Ask what instructions and practice material are included before adding extra colours or tools. Once you work a real sample, judge that sample on its own terms; this paper exercise establishes no tested thread, fabric or finished result.
Sources & further reading
Published sources for the details and examples discussed in this story.