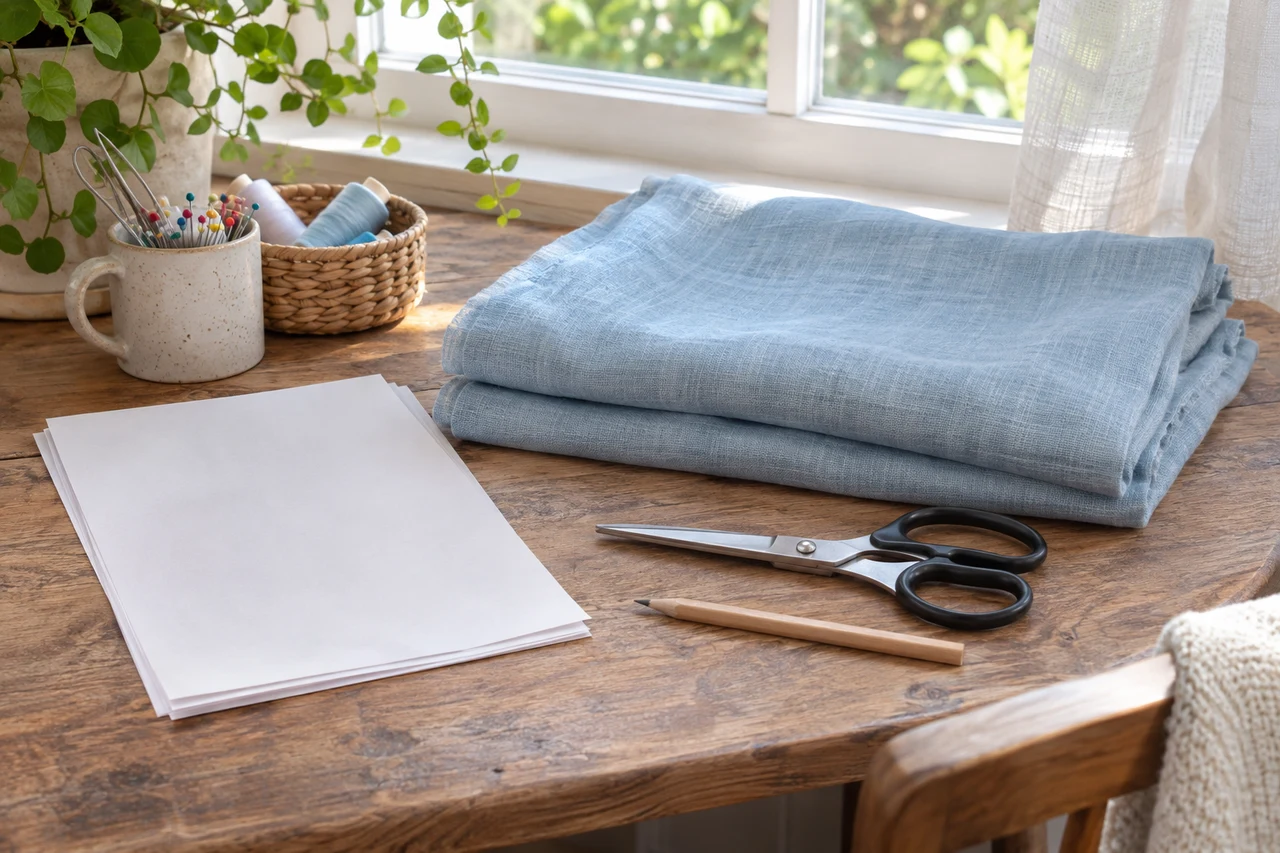
A sewing-pattern PDF can look perfectly clear on screen while leaving its printed physical size unverified. Before committing to the whole stack of paper, use the pattern maker's control page. To Gather And Stitch's printing tutorial directs readers to use a one-page test first, with printing at one hundred percent and a ten-by-ten-centimeter square check for its patterns. That is a documented maker-specific process, not a printer test performed here.
| Original imagined control | Comparison with intended 10 × 10 cm |
|---|---|
| A: 9 × 9 cm | Does not match; resolve before the full print |
| B: 10 × 10 cm | Matches this stated control, not a garment-fit test |
Keep the control size with the actual pattern
Find the test page and the instructions belonging to the exact pattern file. The cited tutorial identifies its own ten-centimeter square; another designer may specify another control. Do not borrow a measurement merely because the outline looks square or because another project used that number.
The tutorial describes actual-size or one-hundred-percent settings and asks for just the control page before the rest of the pattern. Follow the actual pattern's current instructions rather than assume every viewer, file and printer presents identical menus. This guide reproduces no pattern piece, screenshot or proprietary control-page design.
Two invented printouts give different answers
For an original illustration, suppose the intended control is ten centimeters along each side. Imagined Printout A measures nine by nine centimeters. It does not match that specified control. Imagined Printout B measures ten by ten. It matches the two declared measurements. Neither sheet has actually been printed or measured by this publication.
A's neat lines would not remove the discrepancy. B's matching square would answer the scale check more directly than a pleasing preview on screen. Those observations do not diagnose why A differs, certify a printer or establish that every other part of B is correct. The fictional numbers simply make a pass-or-resolve question explicit before a larger print run.
Let the check precede the fabric decision
The maker's next step is to print the remaining pages using the same settings once the test measures correctly. If it does not, return to the relevant instructions and resolve the actual setting or support question. This article proposes no arbitrary percentage correction, shortcut around a failed control or universal printer calibration method.
Keep a brief project note with the actual file version, control dimensions and settings that were genuinely used. A successful scale check still does not establish garment fit, the right pattern size, assembly accuracy or the fabric quantity needed. Those retain their own instructions and decisions. The immediate saving may be avoiding a full uncertain print run, while suitable paper and an ordinary measuring tool do the specific job before extra equipment or project materials are purchased.
Sources & further reading
Published sources for the details and examples discussed in this story.