Two flat paper collages can belong together without repeating one layout. This original pair uses blue backgrounds and three cream shapes on each: a circle and two rectangles. One panel gathers the forms; the other lets them occupy separate parts of the page. It is a complete making proposal, not a photographed physical prototype, a copy of a museum artwork or a claim about how every viewer will perceive the result.
Prepare a small matched set
The Georgia Museum of Art’s published two-color collage activity asks makers to choose a background, cut the second color into shapes, glue the arrangement and make at least two collages. That basic method is the attributed starting point here. The sizes, shapes and paired arrangements below are this publication’s original proposal.
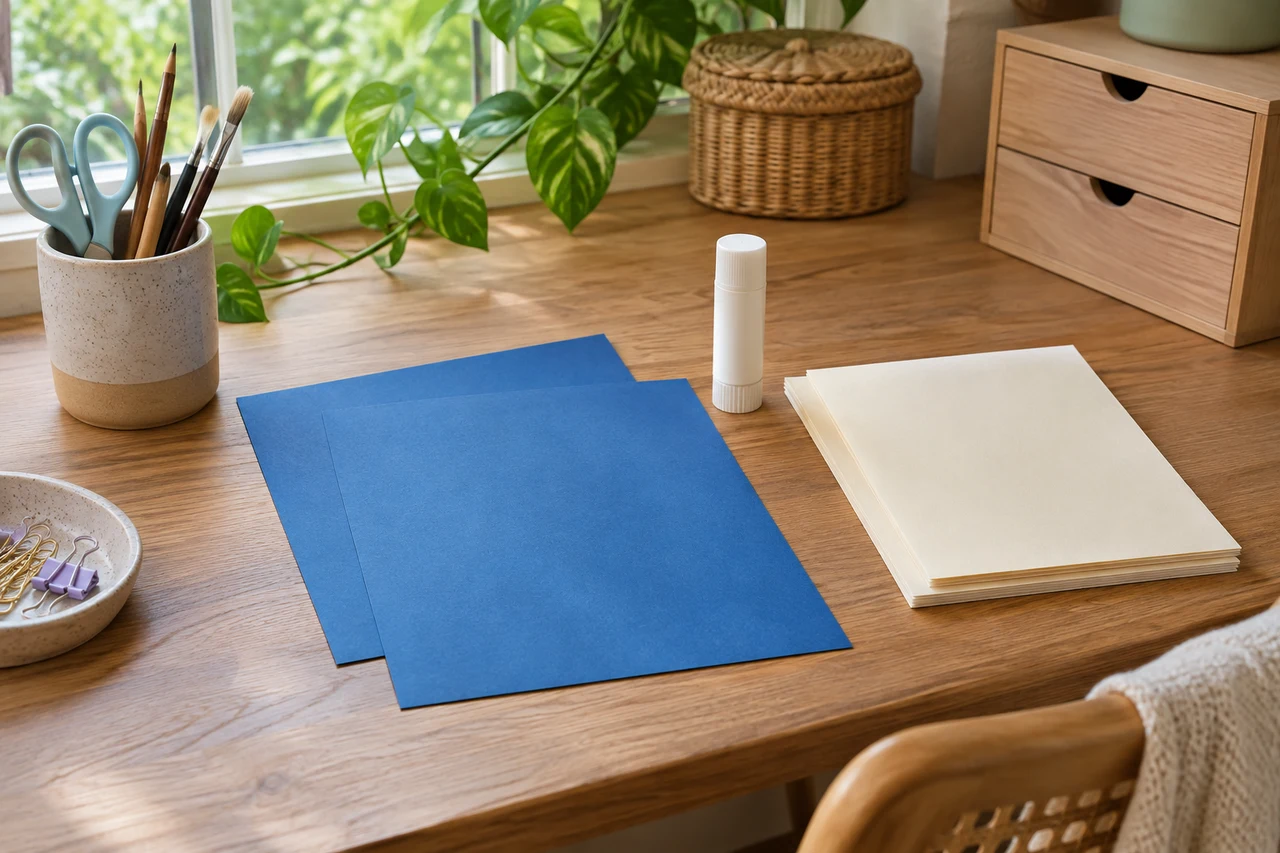
Use two blue paper bases, each 15 by 21 centimetres, placed upright. For each base, prepare one cream circle 4 centimetres across, one cream rectangle 8 by 2 centimetres and one cream rectangle 5 by 2 centimetres. The pair needs two of each shape. Use appropriate scissors, a pencil, a ruler and adhesive suited to the actual paper, following their instructions.
Arrange the clustered panel before reaching for glue
On the first blue base, place the 8-centimetre rectangle horizontally near the middle. Put the circle just above its left portion, allowing the circle to overlap that rectangle slightly. Place the shorter rectangle below and toward the right, with its left end overlapping the longer rectangle’s lower area.
Keep the three forms within the background. Adjust the cluster as a whole until blue remains visible around it. The point is to make one close grouping, not follow an unseen template to a millimetre. Check the full arrangement while it is still movable; the dimensions specify the pieces, not adhesive performance or a tested cutting tolerance.
Give the second panel a different rhythm
On the second base, use the same three cream forms without changing their sizes. Place the circle toward the upper-right area, the long rectangle horizontally near the middle-left and the short rectangle horizontally toward the lower-right. Leave visible blue between them, with every form inside the base.
Set the two panels side by side. The first proposes a close group; the second distributes the same kind of material over more of the page. Move a piece if the intended difference is not clear to you. This is a composition choice, not an area-neutral scientific experiment or a calculation of connected negative space.
Fix the pair only after choosing its relationship
Once satisfied, lift and attach the pieces according to the actual adhesive instructions, preserving any chosen overlaps. Allow the required drying or setting period before handling. No fixed drying time or archival bond is supplied here. The finished intention remains two flat decorative paper panels.
Consider them together before adding stickers, additional colors or printed pictures. Those additions are unnecessary for the proposed pair and would introduce another making decision. If displaying or framing them, assess the real paper size and materials separately. Existing paper and a suitable adhesive may already provide the project; a specialty cutting system or an imitation of an artist’s print is not required.
Sources & further reading
Published sources for the details and examples discussed in this story.