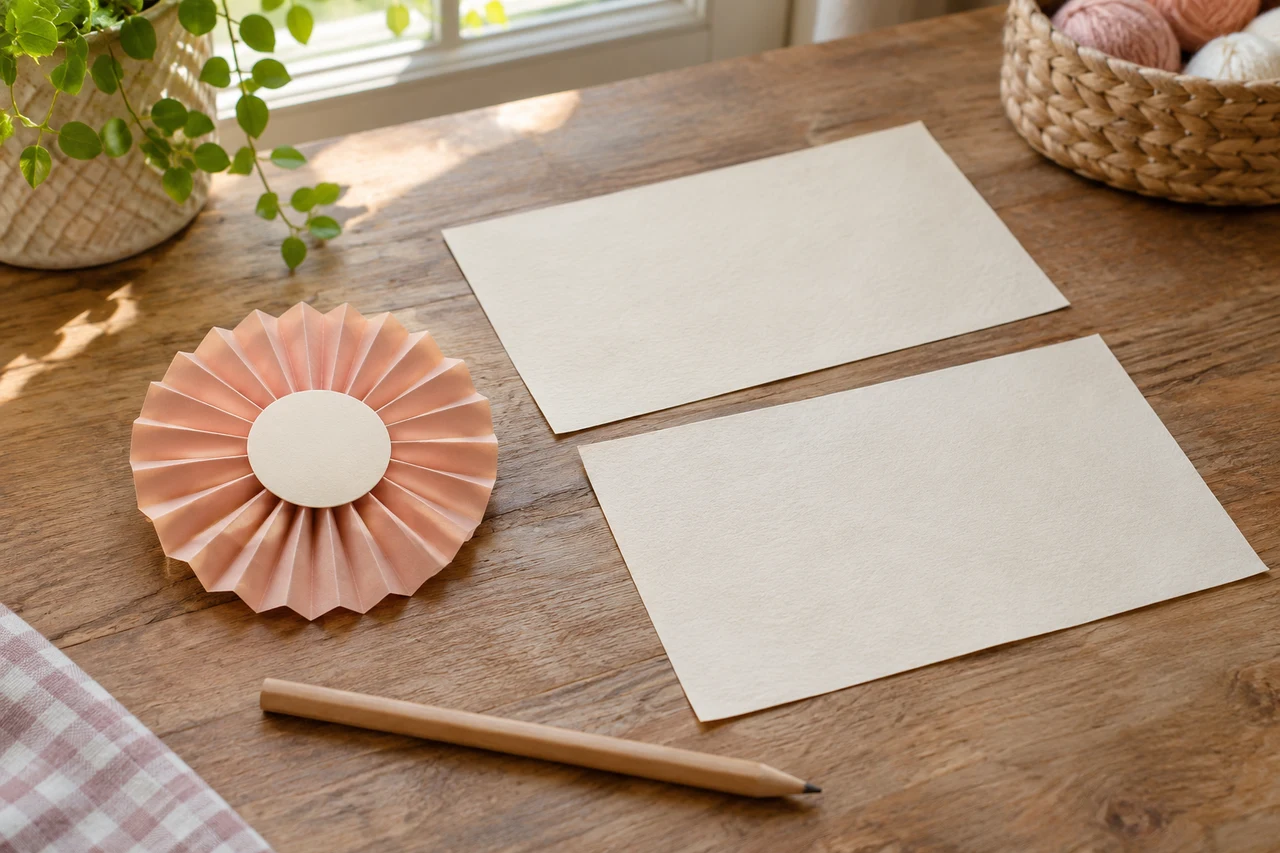
Two folded rectangles can supply the two halves of a small paper rosette. This original adult craft proposal starts with matching paper sizes and keeps the center folds distinct from the joins. It has not been physically made or tested, so the dimensions describe the cutting plan rather than a guaranteed finished diameter or durable ornament. Use it as a dry decorative paper project, following the directions for your actual tools and adhesive.
Prepare two matching rectangles
Use two paper rectangles, each 21 centimeters wide and 10.5 centimeters tall, plus two small paper disks about 2 centimeters across for the center. Choose paper that can accept repeated folds and an adhesive intended for the actual paper, with suitable measuring and cutting tools. This is not a child-activity or cutting-tool lesson.
Lay one rectangle with its 21-centimeter edge horizontal. Mark that width at 1.5-centimeter intervals, leaving fourteen equal panels. There are thirteen internal fold lines: the last edge is the end of the paper, not a fourteenth internal crease. Each line runs the full 10.5-centimeter height. Repeat the same marks on the second rectangle.
Make the accordion packets
Fold the first rectangle along the marked lines, alternating forward and backward folds so it closes into a narrow accordion packet. Its nominal closed face is 1.5 centimeters wide and 10.5 centimeters long before allowing for actual paper thickness. Make the second packet in the same way, keeping the ends aligned without forcing brittle paper.
The Library of Congress Russell Maret glossary describes an accordion structure through alternating folds. The exact sizes and rosette construction here are our own proposal, not a pattern copied from that glossary. Check that every adjacent fold reverses direction before proceeding; two consecutive folds in the same direction interrupt the intended packet.
Turn each packet into a half-fan
Fold one closed packet across the middle of its 10.5-centimeter length, bringing the two short ends together. The midpoint becomes the fan’s center, with two nominal 5.25-centimeter arms. Bring the two inward-facing long packet surfaces together and secure those contacting faces using the adhesive’s actual application directions. Keep adhesive away from pleats that need to open.
Once the join has set according to the product instructions, gently spread the free pleated edges into a semicircular half-fan, with the folded midpoint at the center of its straight edge. If the paper or join resists, stop rather than forcing a material that does not suit the proposal. Make the second half-fan in the same way.
Join the two halves around one center
Place the two half-fans with their straight edges facing each other and their folded midpoints together. Join the exposed end-panel faces along the two sides of that dividing line, creating a circle of pleats around the shared center. Keep the curved pleated edges free. Check the alignment before the adhesive sets rather than twisting one half to conceal a mismatch.
Secure one small paper disk over the center on the front and the other over the center on the reverse, following the adhesive directions and supporting the piece while it sets. These disks are part of the proposed finish, not tested reinforcement with a stated load capacity. Paper thickness and the opened folds affect the result; no exact final diameter or bond strength has been established.
Give the paper piece a modest decorative role
Read the actual adhesive label and follow its use, ventilation and drying instructions. The CPSC art-and-craft safety guide emphasizes reading adhesive labels; it does not validate this particular design or supply one drying time for every glue. Do not add a chemical mixture or heating step to accelerate the join.
Keep the proposal as a light, dry tabletop paper decoration, away from heat and moisture. It provides no hanging, flame-clearance, food-contact or reusable-ornament certification. Before buying a large paper assortment, consider whether two matching rectangles from suitable paper already available can explore the fold construction you want.
Sources & further reading
Published sources for the details and examples discussed in this story.