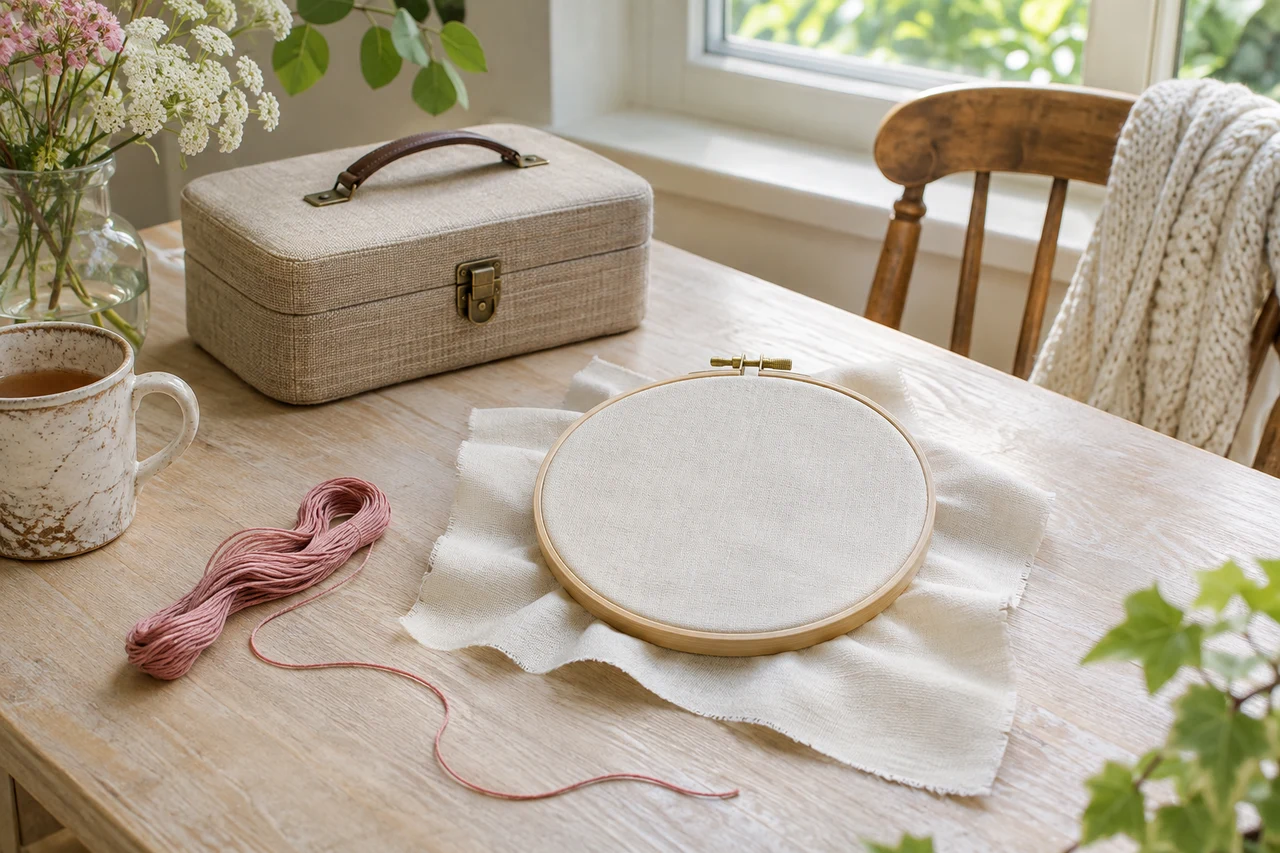
A decorative border can look like a row of separate upright stitches while actually depending on a connected loop at the edge. The Royal School of Needlework describes that anchoring relationship in its blanket-stitch method. The following original short-border proposal uses that method, but its layout is ours. No sample has been sewn, and no source photograph or diagram is reproduced.
Give the border a small, definite job
Imagine a plain rectangular practice motif on suitable embroidery fabric, with one straight lower edge selected for decoration. Leave its other three edges undecorated in this proposal. The aim is a short connected line, not finishing a blanket, reinforcing a seam or proving that a fabric will resist fraying. Choose actual needle, thread and fabric from appropriate project instructions; a paper plan cannot establish their compatibility.
For the design, mark two parallel guide lines in your own planning sketch: the lower outside edge and an inner line above it. Mark four evenly spaced intended upright positions. The spacing and depth have no assigned physical measurement. That keeps the design decision visible without inventing a tested tension or stitch length.
Read the loop as part of the next movement
In the RSN sequence, begin at the outside edge, take the needle down inside the shape slightly ahead, and bring it up at the outside within the loop held in the direction of travel. Manage the slack before drawing the needle through. The next inside entry advances along the shape, and the new outside emergence again passes within its loop.
For our proposed border, read that sequence across the four planned positions from left to right. After each one, pause over the sketch and identify the upright part and the loop lying along the edge. This is a reading exercise before any actual needlework; it does not report a successful stitch or replace the complete project instructions.
Resolve the last loop instead of adding another repeat
The published method calls for a holding stitch at the outside edge to secure the final loop. In this design, the fourth planned upright is the last repeat. Mark the holding action separately on the planning note rather than silently adding a fifth upright. The border now has a declared beginning, repeated movement and ending.
Before working an actual piece, use the applicable project guidance for initial thread securing and final thread finishing as well. Those material-dependent details are not established by this short layout. If the intended object needs structural edge finishing, choose instructions for that actual purpose rather than treating a decorative sketch as an engineering claim.
Choose a kit for the instructions it supplies
A useful buying question is whether a kit teaches the named stitch, preparation and finishing on its supplied materials. Four colors do not answer the question better than one. Look for instructions you can follow, not merely an appealing completed motif.
Keep the short sketch if it helps you understand the loop, then assess any real practice sample separately. Unevenness in a future sample would be an observation about that sample, not evidence already obtained here. The completed contribution is a bounded border plan whose last loop has not been forgotten.
Sources & further reading
Published sources for the details and examples discussed in this story.